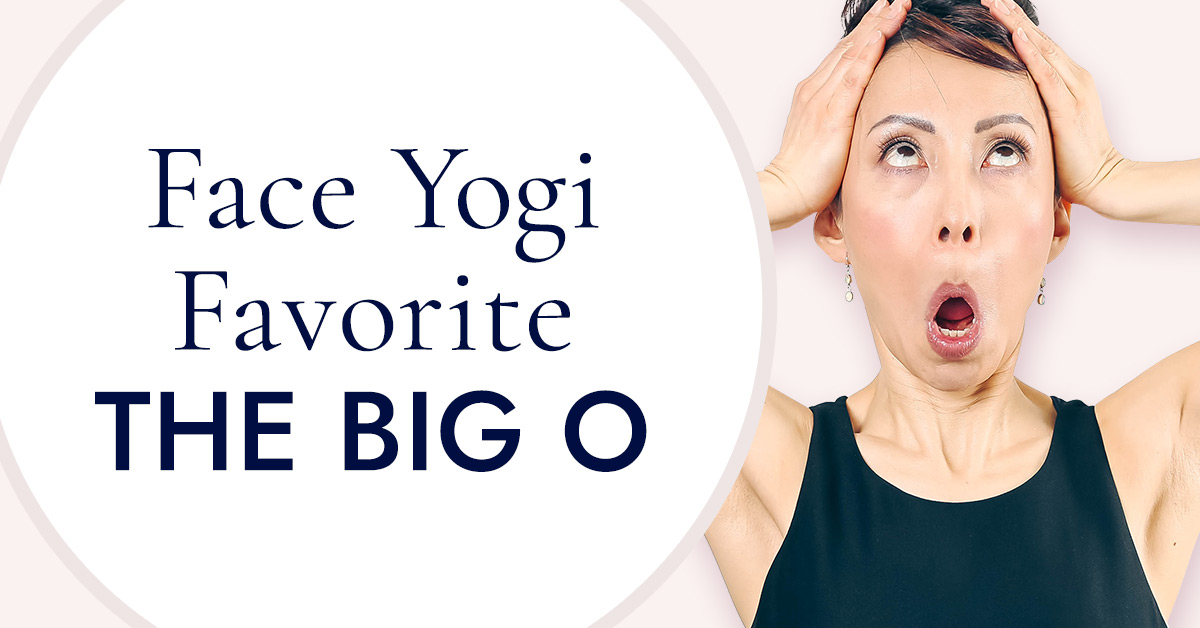
We don’t like to pick favorites, but our Face Yogis chose fair and square!
Turns out, The Big O is the most popular Face Yoga Method Pose. The truth is, we’re not surprised.
This ONE powerful Face Yoga exercise targets nearly every muscle in the face and neck by increasing blood circulation throughout your entire face and neck areas which allows your muscles to function properly, and your face to restore its glow. It smoothes out nasolabial fold lines and lifts up your upper face lines.
With minimal steps, it’s also a great exercise to practice on the go. But to do that, you have to be sure of every detail that goes into practicing the right way. We are about to break down The Big O, including the things you might have overlooked.
The Big O: How To

First things first, let’s cover the step-by-step process of this potent exercise.
- Open your mouth by dropping your jaw and make an “O” shape with your mouth by pressing your upper lip area against your teeth.
- Feel the smoothening sensation under your eye area.
- Hold this for 10 seconds.
- Repeat 2 more sets.
The Big O can also be done with the help of the hands. We recommend this option for beginner practitioners to ensure you’re engaging the proper muscles, but it can be helpful for all Face Yogis when re-evaluating your practice.
- Place both palms on your temples.
- Push your hands upward 45 degrees, toward your ears, lifting the sides of your face.
- Open your mouth by dropping your jaw and make an “O” shape with your mouth by pressing your upper lip area against your teeth.
- Feel the smoothening sensation under your eye area.
- Hold this for 10 seconds.
- Repeat 2 more sets.
The Big O: Best Practices
Something to keep in mind when practicing the Big O is NOT to tighten your jaw or chin area. Instead, when you open your mouth, drop your jaw. You don’t want to cause added stress and tension to your muscles as this will actually deter you from your results. In addition, your shoulders should remain relaxed. No added stress or tension should be felt in any area of the face and neck, only a slight stretch and activation.
If doing the Big O with the hands, you can adjust your arm positions so you see the fewest nasolabial folds. This is where using your hands can deepen your practice and support more areas of your face.
As with any exercise, but especially one that’ll activate your entire face and neck, ensure you practice in the mirror at first. Notice if you’re squinting your eyes and forehead, and creating unnecessary creases in your face. Sometimes what you think you’re doing doesn’t match what you’re actually doing and this is how you actually contribute to more wrinkles.
The Big O: Next Steps
The Big O can be a part of your daily Face Yoga Method Routine. Despite which area of the face you’re working on, this is a great exercise to increase your blood circulation and warm up your face and muscles. It’s also a great pick-me-up for midday slumps, or if you’ve been sitting in front of a computer all day. It allows for your face to reset, the circulation to increase, and the vibrancy in your face to restore.
While this is the most popular Face Yoga Pose, of course, you’ll want to incorporate more exercises to target every area of your face and neck. A holistic approach means a well-balanced Practice.
We’ve compiled our 5 all-over face toning exercises you can get started with today! Step-by-step instructions included.


Love your work!
Hi Biljana!Thanks for the love!
This is great!!!!
I would like to spend more time on this
Please do Sarah, you will not regret it 🙂